The first AI image looks good. So does the second. But when they sit next to each other in the course, they look as if they came from different productions. The outlines have become thicker, the colours have drifted, and the person who just looked like a colleague now resembles a cartoon mascot. Each image works on its own. The series does not.
Creating consistent AI images therefore takes more than a good image description. You need a shared visual language, a way to reuse it, and a review of how the images work together. That is the starting point for Graphics Studio – the image workshop in our authoring tool Care of Skills Create™.
Why is it hard to create AI images in the same style?
An instruction such as “a clean illustration in our colours” leaves many decisions open. How simplified should the faces be? Should the image have shadows, paper texture, or completely flat colour fields? How much of the background should show? The image model has to interpret all of this, and the interpretation can change when the subject changes.
The same colour palette is only part of the same style. Two images can use the same blue and green tones and still differ in perspective, line weight, light and level of detail. Putting in the brand’s colour codes therefore does not solve the whole task.
Reference images give more concrete guidance than text alone, but even there there is a trade-off. If a single image steers too much, the next subject can become too similar to the original’s composition. If it steers too little, the expression can drift. And keeping a style is a different task from keeping exactly the same person, clothes and objects across several scenes.
What a coherent visual language does for the training
In a training programme, the images need to help the participant understand something. A recurring environment can hold a scenario together. A clear illustration can highlight a decision or a situation that is hard to describe with a generic stock photo. When the expression hangs together, every course section does not also have to introduce a new visual world.
The need becomes especially clear when the training grows. A new module should be able to get new subjects that fit with the old ones. Then the next producer needs to understand which choices created the visual language, even if the person who made the first images no longer works on the project.
Variants and adjustments in the same visual language
The images below show how a shared look can carry through when people end up in a new scene or when objects change. First compare the image pair with the white presentation surface and the dark screen. Also look at the computers and hands: more details can change than the one that was meant to be adjusted.
A shared visual language can carry through both when a detail is adjusted and when the scene changes. The first image pair shows concrete differences side by side. Then follow three examples of new scenes and added details.Click the images
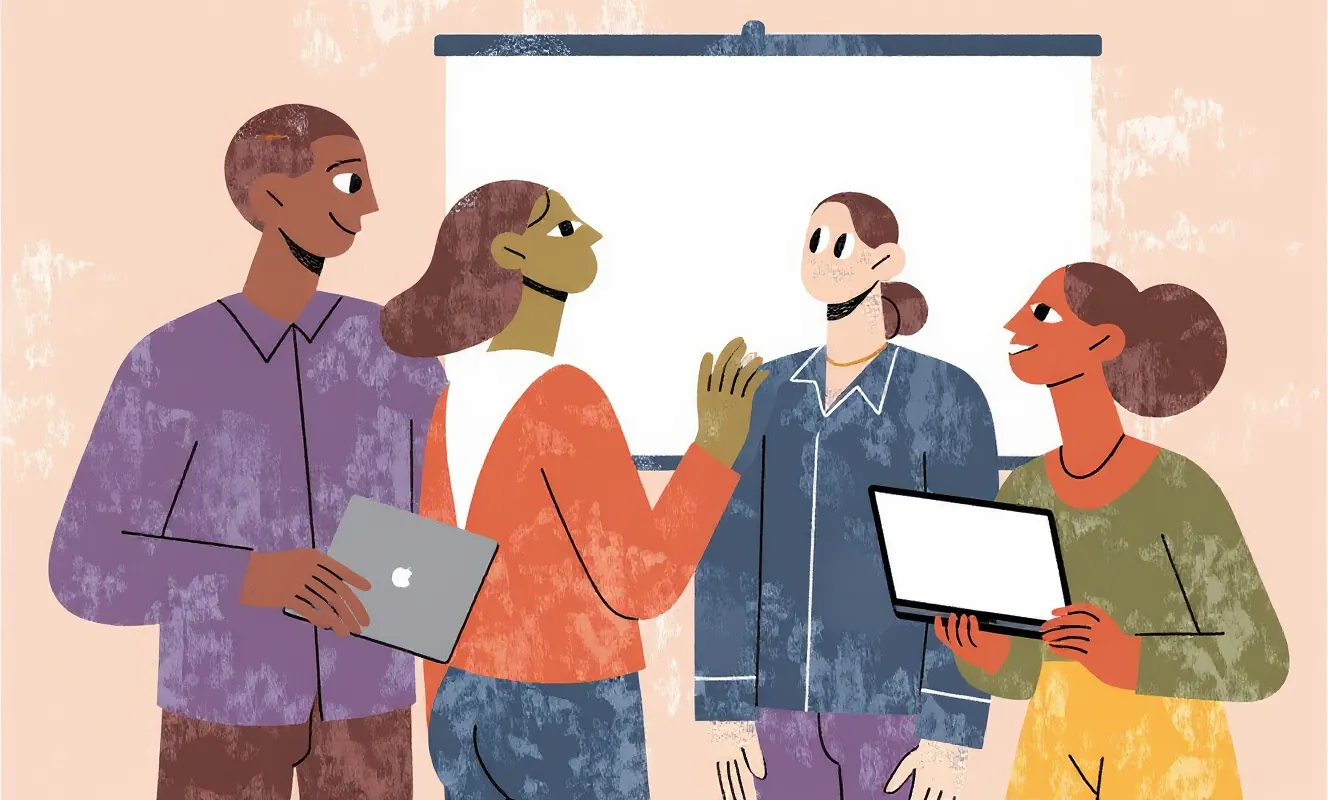
Starting point: team at a presentation surface
Four people in front of a white presentation surface. The person on the left holds a device with the back facing out; the person on the right shows a bright screen.
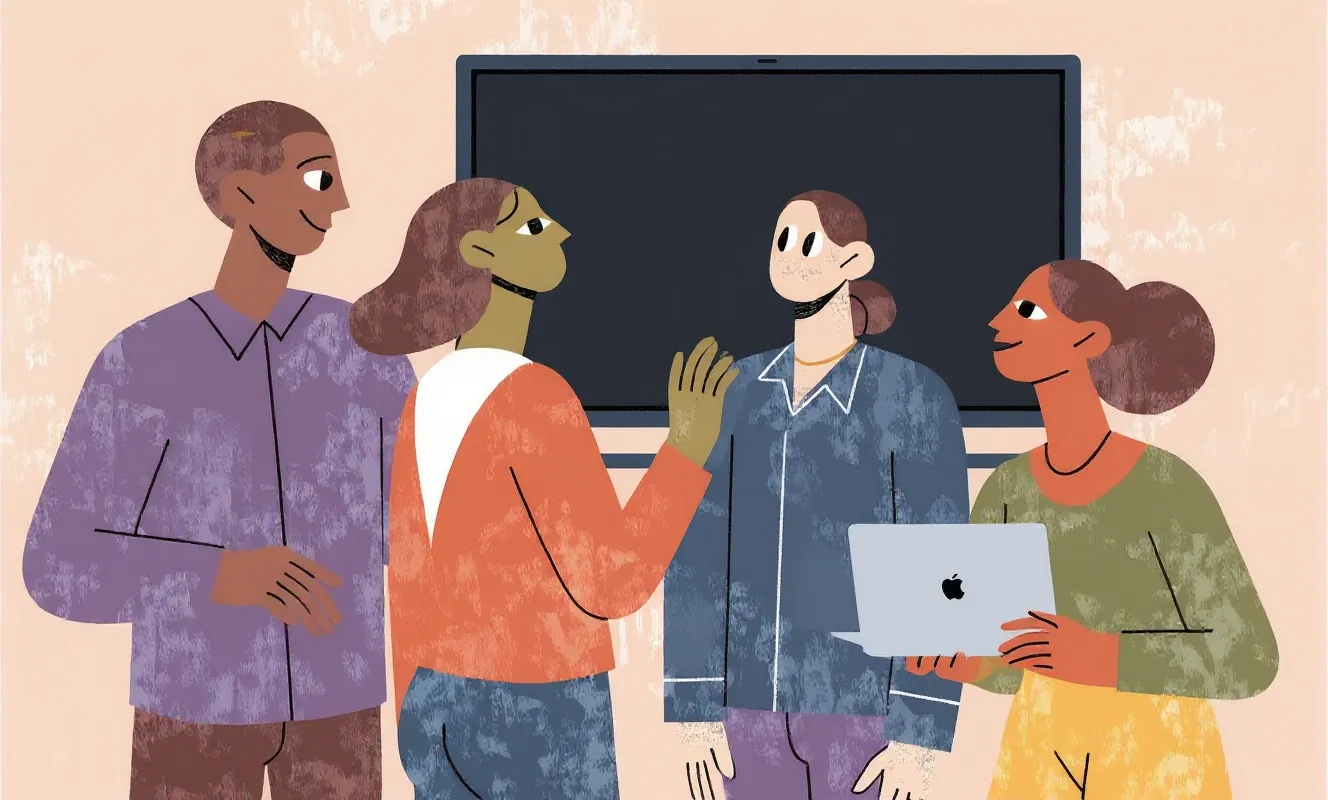
Adjustment: dark screen and laptop
Compared with the previous image, the white presentation surface has become a dark screen. The person on the right now holds an open laptop, and the device on the left is gone.
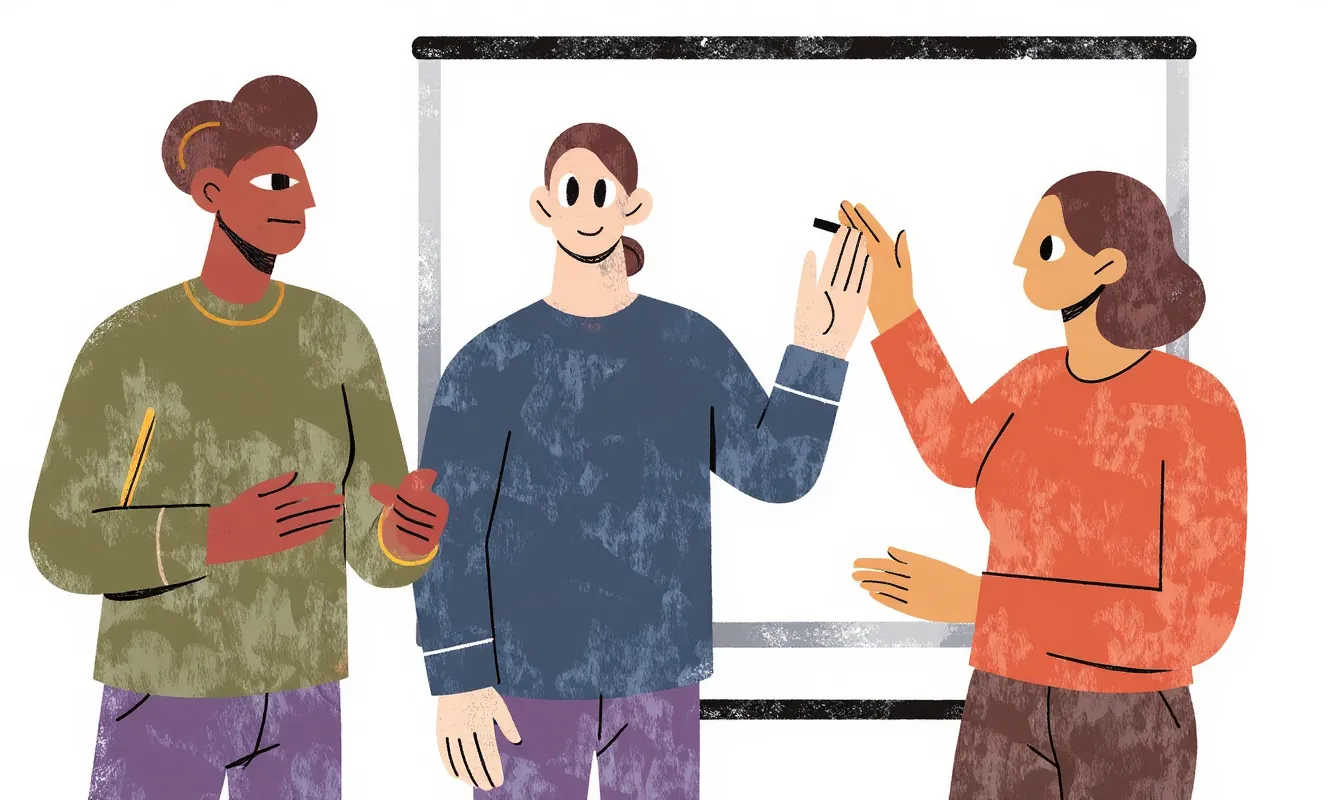
New scene: colleagues at a whiteboard
Three people stand in front of a whiteboard. Standing bodies, new gestures and a different background give a new scene in the same visual language.
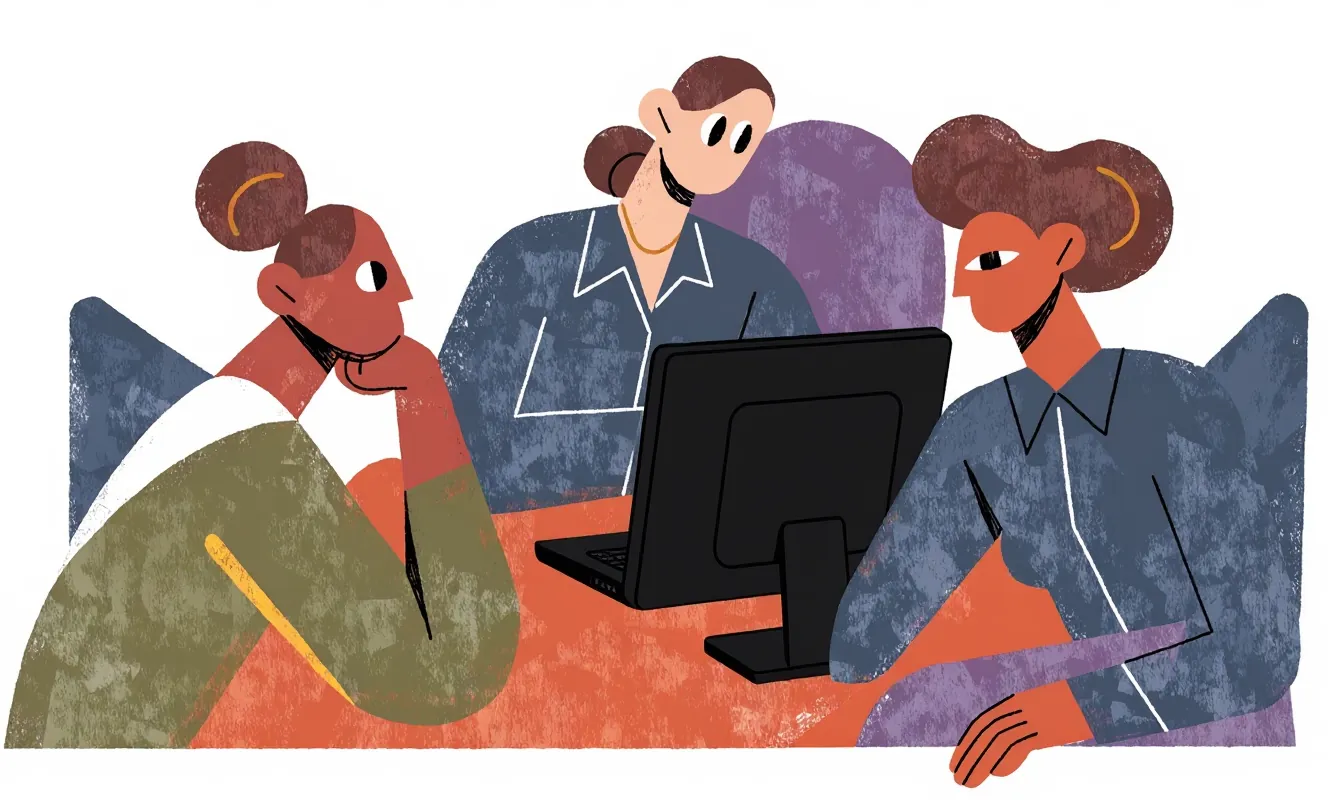
Adjustment: computer on the table
A computer with a large screen has been added on the orange table compared with the earlier meeting image. The three people and the table are recognisable.
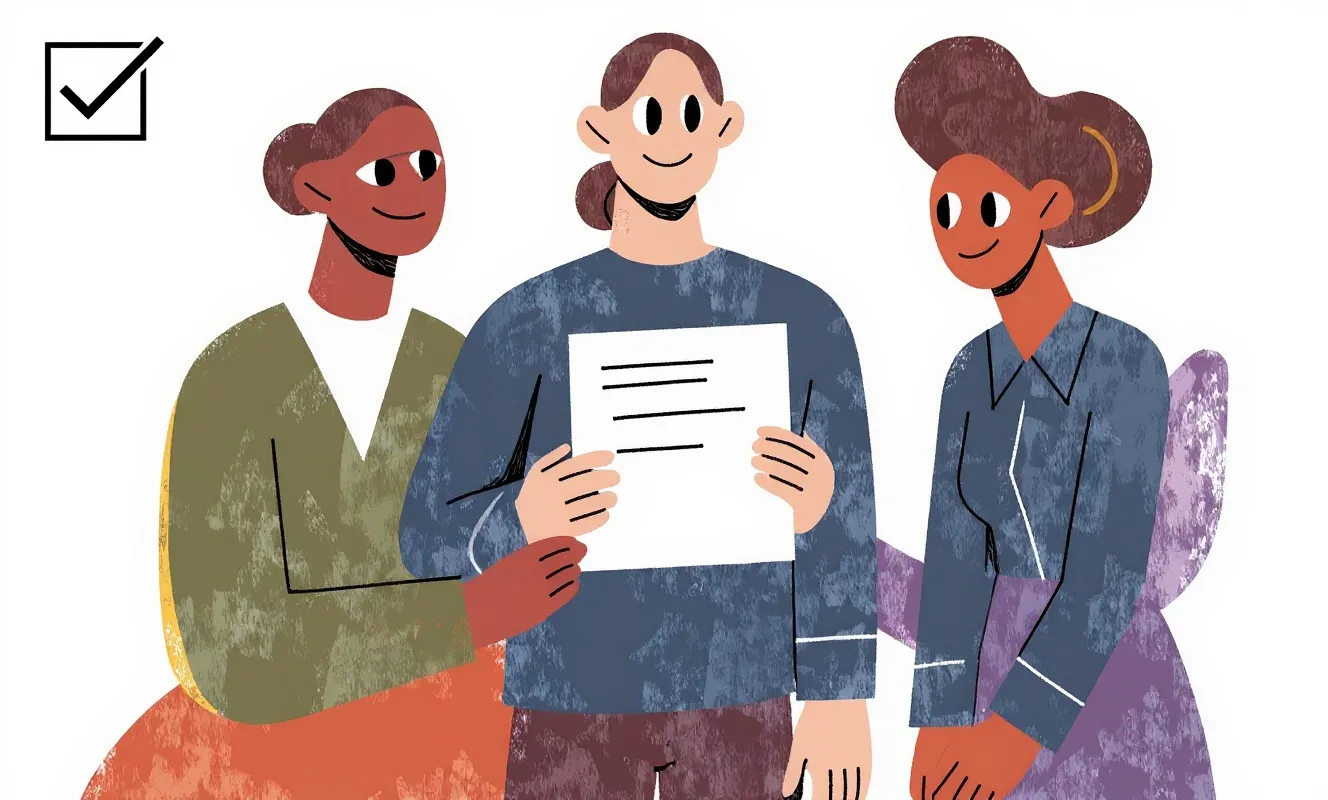
New scene with document and checkmark
The group gathers around a document. A checkmark is visible at the top left. The positions of the bodies and the composition also differ from the meeting image.
The examples are AI-generated in Graphics Studio, the image workshop in Care of Skills Create™. Both adjustments of existing images and new scenes based on reference images can give results other than intended. Even a limited change can affect more details than intended. Processing may therefore need to be split into several steps, with clear instructions about what should change and what should be kept. The whole image needs to be reviewed after each step.
An image workflow built for training production
Graphics Studio is the image workshop in Care of Skills Create. We have built the workflow around the tasks a producer or editor faces as a training programme takes shape: illustrate a piece of content, adapt the image to a component, keep the expression together through a module, and rework the material when needs change.
The image generation and AI processing themselves are carried out by external services such as Recraft and fal.ai – standalone products from other vendors. We have built Graphics Studio to gather selected features from these services in a workflow adapted for training production. Our development work sits in the interface, the integrations and the support for the producer’s everyday work: from subject and look to adjustments, image library and reusable recipes.
How our workflow works in Graphics Studio
1. Separate subject and look
In the studio we describe what the image should show and choose separately how it should look. A look collects recurring instructions about, among other things, shapes, texture, outlines and things to avoid. There are, for example, looks for flat illustrations, geometric compositions and a more editorial expression.
When the subject changes, the style instructions follow along. They can also be edited and saved centrally. That means we can develop the visual language without rewriting a long prompt for every new scene.
2. Attach colours and visual references
The colour palette can be taken from the course theme or chosen among saved palettes. It is combined with the subject and the look when the system builds the instruction to the image model. An image from the image library can also be used as a reference for a new generation.
For illustrations there is also support for creating a reusable house style from selected images. Then the system gets concrete examples of the expression we want to keep. The references can come from the library or from images we have just generated in the studio. The selection matters: scattered exemplars give an unclear direction.
3. Generate, compare and process
We choose image format and produce proposals that can be compared with the rest of the series. The studio distinguishes between creating a new variant of the same idea and adjusting an existing image with an instruction, for example “replace the whiteboard with a screen”. A new variant can redraw both people and composition. An adjustment starts from the image that already exists, but the result still needs to be checked.
We use Recraft and fal.ai flexibly depending on the task and which support is needed. Recraft’s API gives access to their own image models, while fal.ai offers models from several vendors. In Graphics Studio we choose among the connected models and features according to the need for format, references and processing. Illustrations can be generated as pixel images or SVG, while instructions for image adjustment are used for pixel images. A shared workflow holds the choices together even when the technology behind the steps differs.
4. Save the image together with the recipe
Images that are to be used are saved in the image library together with their generation recipe: subject, prompt, look, colours, model and relevant settings. A saved image can be opened in the studio again for further work. That gives the next production a documented starting point, even when new subjects need to be added.
The recipe is, however, no guarantee of an identical image on a new run. A saved random seed, often called a seed, is a setting for the generation and should not be confused with a locked style or character. The image that has been approved therefore needs to be saved as a file of its own.
The same image flow is linked to AI-supported course production in Create. There, image placeholders can be replaced with illustrations based on image descriptions and a shared chosen look. That gives a first set of image material to work on. Selection and review remain before the course is finished.
An example: new subjects for an induction programme
Imagine an onboarding course with scenes about the first day at work, feedback and collaboration. The editor starts from the module’s text and describes the situation the image should explain. If the image is to be used in a small scenario card, the subject needs to work on that surface. We try a shared look on the different situations and review the image proposals in the components’ layout. Does it work both for a meeting between two people and for a whole group? Is the expression clear even in the course’s smaller image areas? Only when that direction works do we produce the rest of the series.
If a module about remote work is added, we can start from the same look, palette and house style. The new subject describes a different situation, while the visual starting points remain. The example is hypothetical, but it shows why it is valuable to save more than the finished image file.
Standalone tools and possible complements
In our work we also use Figma Make and Figma Weave, standalone products from Figma. Make is a tool for interactive prototypes and interfaces. Weave combines AI models and creative processing steps in visual workflows. They are part of our toolbox for development and production.
Other possible complements are image models from OpenAI and Google as well as Adobe Firefly. These are standalone products from external vendors, and any integrations need to be evaluated against the concrete needs of training production: creating relevant subjects, processing images and keeping the expression together through the course’s components and modules.
This still needs a human eye
An illustration can follow the style and still show the wrong thing. A hand can hold a tool incorrectly, a work environment can be misleading, and a situation can reinforce a stereotype. We need to review both the content and the image series as a whole, and check cropping and readability in the actual course. The alt text needs to describe the image’s meaning in context, not just reproduce the prompt.
When an image must show an exact machine, a particular hand grip or a real interface, a photo, a screenshot or a manually produced illustration can be a better basis. AI fits when the expression may be interpreted within clear bounds. The more exactly something must be reproduced, the less room there is for that interpretation.
Do you need a visual language that holds together across several courses? We are happy to show how subject, look and review can become a shared workflow – and how it can be built on when the training needs to grow.